 |
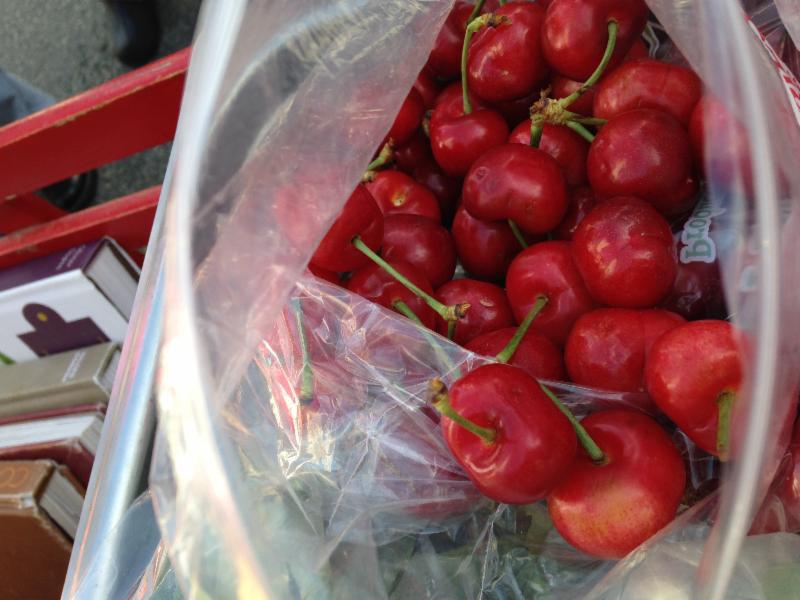
| Murray Farms' Brooks Cherries- click on photo to see their pick your own events. |
Bleeding heart.
...be still! The CHERRIES have arrived! The tart, juicy prelude to peaches made an early appearance on Wednesday when Murray Farms debuted nature's cupid. La Cerise. La Cereza. Mi corazon. Maybe it's because their season is so short, perhaps it's the blushing color, the intensity of flavor packed in a dense flesh whose thin membrane gives way so easily, but for me, NOTHING but a ripe peach matches the heavenly experience of the first cherry of the season. And then, just like that, they are gone, our stained lips a memory tempered only by lame stragglers in grocery bins trucked for far away places up North where the season starts and ends later than here.
What are we left to do? Especially when weather and drought have affected a large part of the crop, raising prices and leading to sold-out stands early in the morning? HOARD (don't take more than you need but take as much as you can to live through the year- the farmers will tell us who took the last of the crate). Bake, preserve, candy and cherish. I like to preserve 75% of what we buy and eat the rest as I'm walking away from the stand, towards the car, on the ride home and in every dish I can until we run out. Check out our Cherry Preserves recipe below. You're welcome.
Cherry Preserves- makes five 8-ounce jars
4 lbs. pitted cherries
2 lbs. sugar
6 ounces fresh lemon juice (not Meyer)
1. Wash and pit the cherries, careful to discard all the pits.
2. Place the cherries, sugar, lemon juice and optional vanilla bean in a large, non-reactive (stainless steel, enameled Dutch ovens and copper are great, aluminum is not) pot. If you can, leave this in the fridge overnight.
3. Place the pot over a medium-high flame (careful not to let the flame go beyond the pot or the sides will burn) and cook until you get a heavy boil. Continue at a heavy boil, stirring, for about 6-7 minutes.
4. Turn the heat down to medium and cook for about another half hour, stirring more frequently as the mixture thickens. Skim off foam from the top of your jam.
5. You'll know your jam is done when it passes the spoon test. Have a half dozen or so spoons on hand and test occasionally. Once you dip the spoon and see a thick coating on its back, you're close. When you lift the spoon and see the jam trying to fall off the spoon, with heavy drops, your jam is ready.
Processing your jam:
Step 1: Sterilize jars by either boiling them for 5 minutes or placing the empty jars (no lids) in a 350 degree oven on a tray lined with a towel for 5 minutes.
Step 2: Pour jam into hot, sterilized jars.
Step 3: Immediately put a lid on clean jars. Place ring on 'fingertip' tight.
Step 4: Place jars in a pot of boiling water so the water is at least 2" above the lid of the jar for 10 minutes.
Step 5: Carefully pick up the jars, careful not to tip them sideways, and place on a towel-lined counter or cookie sheet.
Step 6: Once cooled, put in your cupboard for one year.
Tips for canning success ( email us with any questions):
1. Sterilize everything. I do this in hot, boiling water with each instrument for 1o seconds.
2. Fill the jars only to a 1/4" mark. It's the middle line on the rings that circle the tops of the jars.
Wishing you a delicious day,
Clémence and Hadley
| 

No comments:
Post a Comment